
🎨Sculpting with Adobe Medium and Looking Glass
Requirements
Looking Glass Bridge

Blender Add-On
Introduction
In this tutorial, 3D and Mixed Reality artist Agatha Yu will walk you through sculpting in Adobe Medium using a VR headset, importing the model into Blender, and setting up the Blender Add-on.
Helpful Tips 🤝 Organize your work with layers! it's pretty easy to lose track when you are sculpting, if you want to use the bits as separate meshes or be able to smooth without accidentally affecting other parts of your work, make sure you use different layers to your needs. Save Often! This is generally good advice. Also remember to drink water when you are in VR, you can lose track of time and get pretty dehydrated.
1. Gather your inspirations
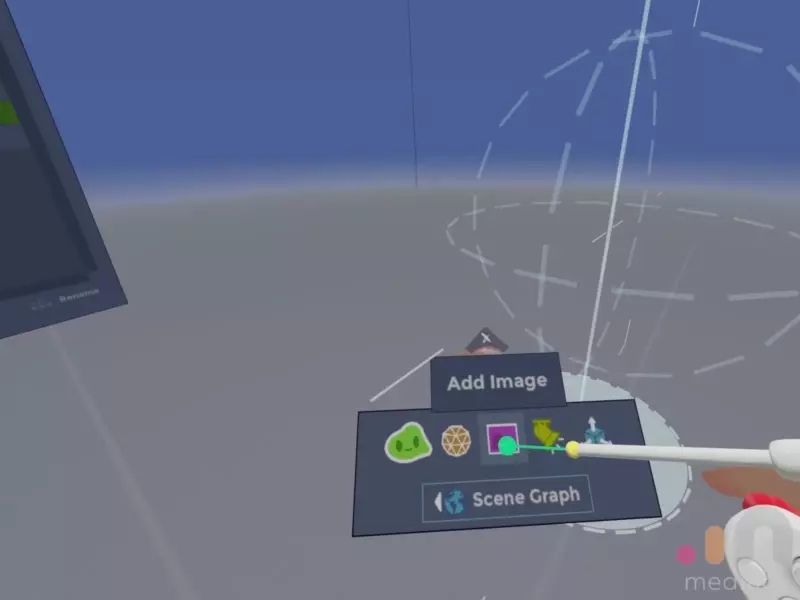
In this project, I wanted to explore the different shapes and curvature of a woman's body. So, I found a bunch of reference photos that I can bring inside of VR in Medium.
2. Fire up your equipment
We'll be using an Oculus Quest for this tutorial, though you can use any headset that supports SteamVR! For the quest download the Oculus app on your VR capable computer, use either Airlink (beta) or Link cable to give your Quest headset access to Rift software. Download Adobe Medium and launch!
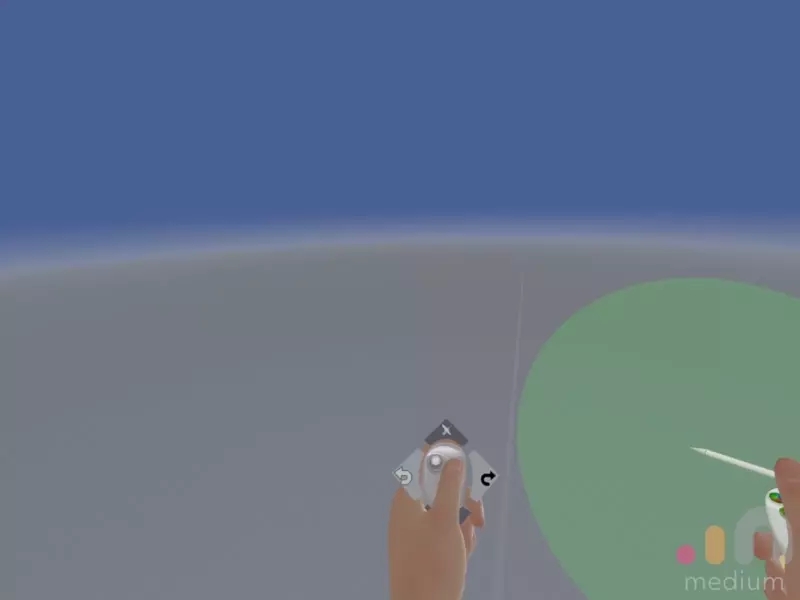
3. Lock your world and sculpt space
Otherwise you will mess up the export orientation etc, otherwise when you are trying to navigate inside of the Medium, you will accidentally displace or scale the asset unpredictably.
4. Clay, smooth, move
My usual 3D style tends to be quite geometric, and since we are going to play with digital clay today, I am going to step out of my comfort zone and see how I can incorporate more organic forms into my character. What I find works for me is to make a few blobs using the clay tool, usually I have picked my colour palette before going into VR, and I bring those in as images as well so i can just eyedropper as I go. I then use the smooth tool to give a more even surface, make sure you keep a close eye on it as it can change the topology quite a bit if you don't pay attention.
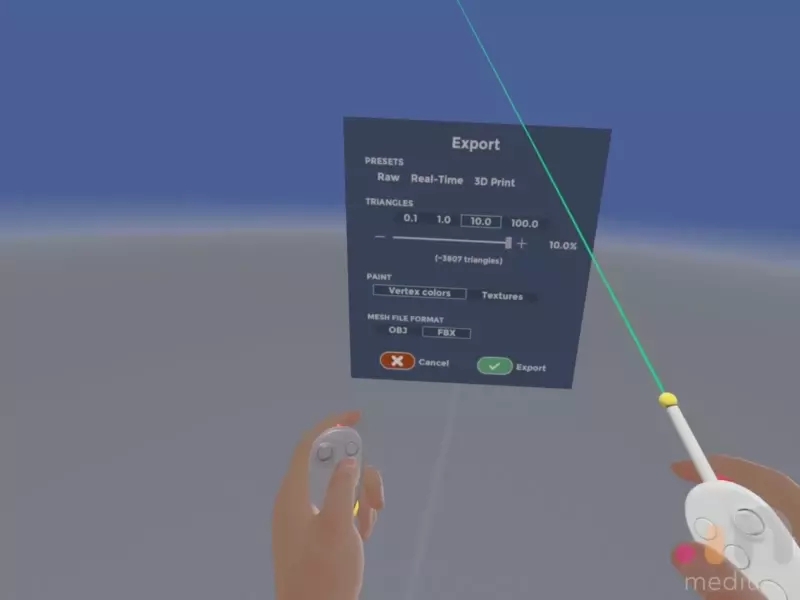
5. Decimate and Export.
I usually export at 10% range, fbx and preserve vertex color especially when you use the paint tool!
6. Retopology and cleanup
I bring in my fbx into blender and press F3 and type in merge vertices, just to get rid of weird doubles and odd bits I didn't intend to have. Usually, I have the quad remesher addon installed already.
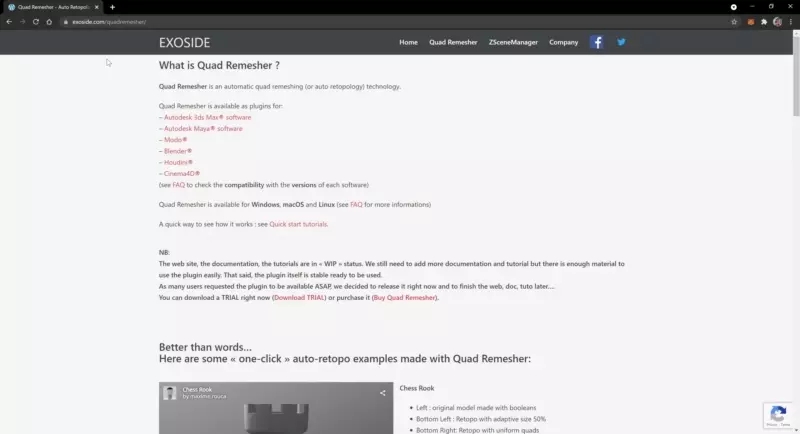
I bring it up and do a guessitmate of what would be the appropriate quadcount and smash the remesh button. Then I carry on to adjust the position and shader to make it as pretty as possible
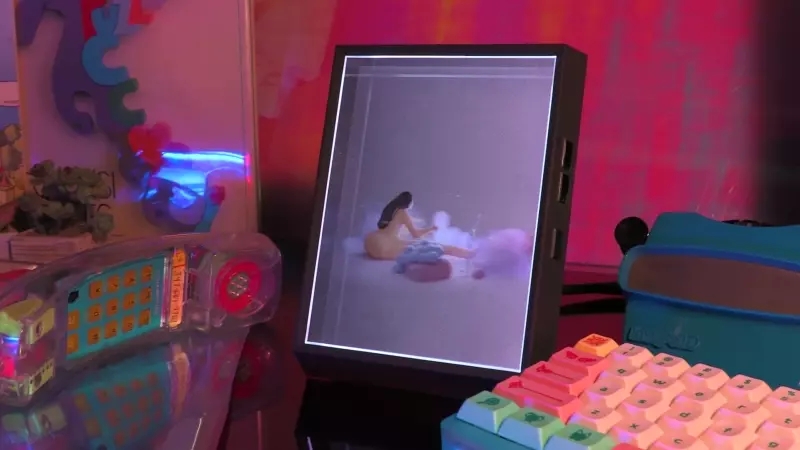
7. Setting up for Looking Glass
To get your model on the Looking Glass you'll need to install the Looking Glass Blender Addon. Make a Camera by clicking the "add" button and then selecting "Camera".
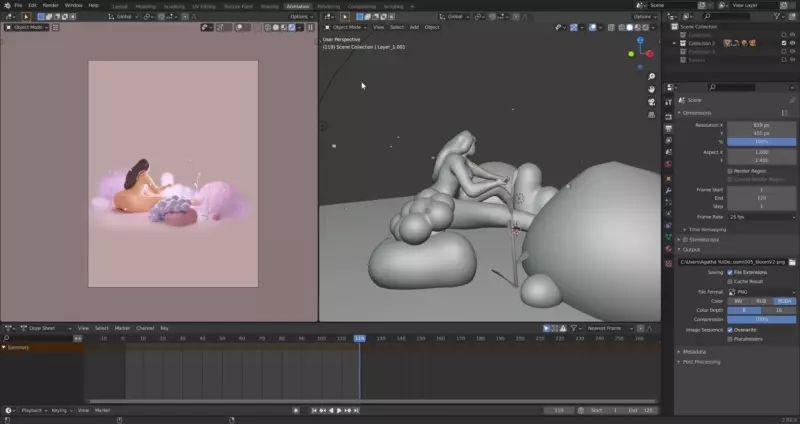
Once you've got that done click on the side toolbar and use the eye dropper tool to select the camera you've added. This will setup a Looking Glass camera rig! You can enable live view or do a full resolution quilt rendering!
Share your work with us!
We'd love to see what you create! Have a character you’d like to share with our team? Send it to [email protected]! You can also tweet us your holograms at @LKGglass and share it on our Discord in the #Showcase channel!
Last updated
Was this helpful?