
🖐️Building with Leap Motion
Requirements

Introduction
In this tutorial we'll go over how to setup your Leap Motion Device in Unity and try out one of the cool demos we've put together! In order to follow this tutorial, the Leap Motion Controller needs to be plugged into your PC, and your Looking Glass display needs to be set to Desktop Mode.


The Types of interactivity
So, before we get too in depth in Unity, we want to touch on different kinds of interactions you can make with leap motion. There are two main methods of adding interaction, one has to deal with physics, and the other with proximity.
Physics
Physics interactions can be super fun, they're very useful for getting engagement out of your users and can be a great first experience with hand tracking! Physics tend to be easier to setup, so if you're new to leap motion & unity this is the place you'll want to start.
Proximity
Proximity Interactions can be useful for things like buttons, UI, turn tables or anything you want to have a bit more precision over than with the physics assets.
Proximity Interactions use the location of fingers, or the leap hands combined with raw values like speed, or velocity to create motion or trigger an event. This makes proximity interactions more complex than physics interactions in terms of setup, but they're much easier to work with for UI you'll be interacting with often.
Technical Setup in Unity
💡 The Leap Motion SDK is best used with Unity 2019.4 LTS currently. Please ensure you're using that version of Unity before getting started.
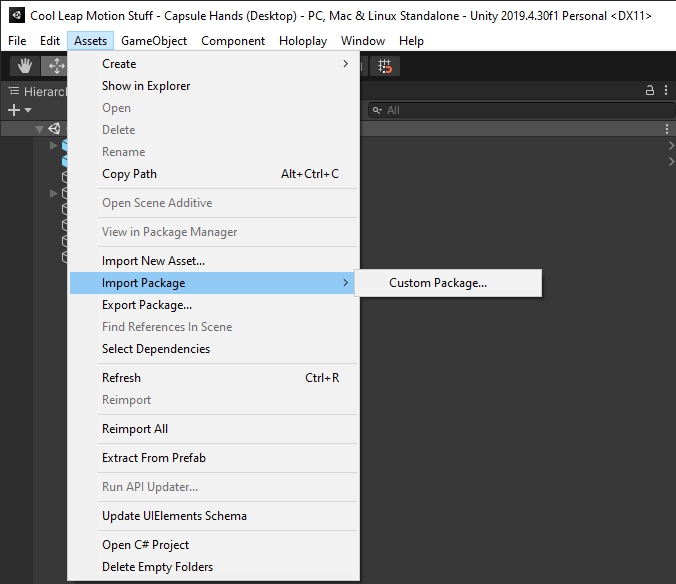
1. Install the Leap Motion Unity Packages
Before we get started making cool interactions we'll need to install the Leap Motion & HoloPlay Unity Packages. Make sure to grab the latest unity package from the links in the required software section at the start of this tutorial. Note that Leap's software SDK for unity consists of three unity packages, we'll want to install all of them for this project. You can install the unity packages by going to the add menu in Unity, then selecting import package.
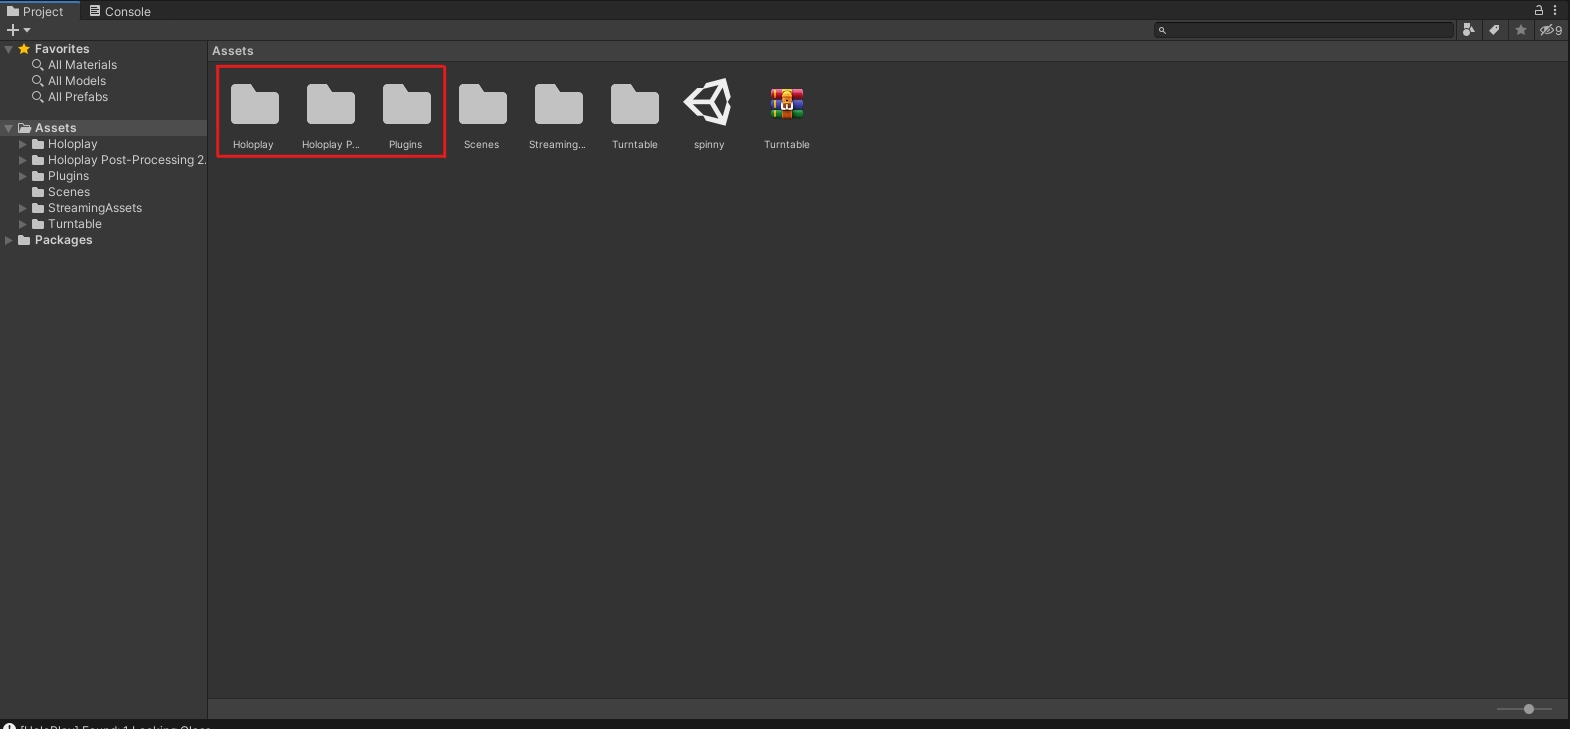
After you've installed the Unity Packages, you should see the following folders in your asset browser. The HoloPlay & HoloPlay Plugins folders contain everything you need to use your Looking Glass, & the Plugins folder contains all the Leap Motion tools.
2. Add Leap Motion Hands to your scene
The easiest way to add leap motion to your scene is to duplicate the capsule hands example demo from: Plugins\LeapMotion\Core\Examples From there you can either copy the scene into your existing scene or work straight out of the copy by adding a HoloPlay Capture to the leap capsule hands scene.
The reason we're duplicating the scene is so we don't overwrite the original if we want to make a new scene with it later.
💡 you can add a HoloPlay Capture to your scene really quickly by right clicking in your scene graph and choosing "HoloPlay Capture" from the menu!
With our scene now open we should see a leap motion gizmo in the scene, along with a few leap motion specific items. Let's go over some of the basics of setting up our scene. 1) So the first thing you'll probably notice is that the HoloPlay Capture is rather large compared to the leap hands, I typically set the HoloPlay Capture's Size variable to around 0.75 to make the hands larger, but this can be up to you, any size will work as long as the hands are in the HoloPlay capture volume.
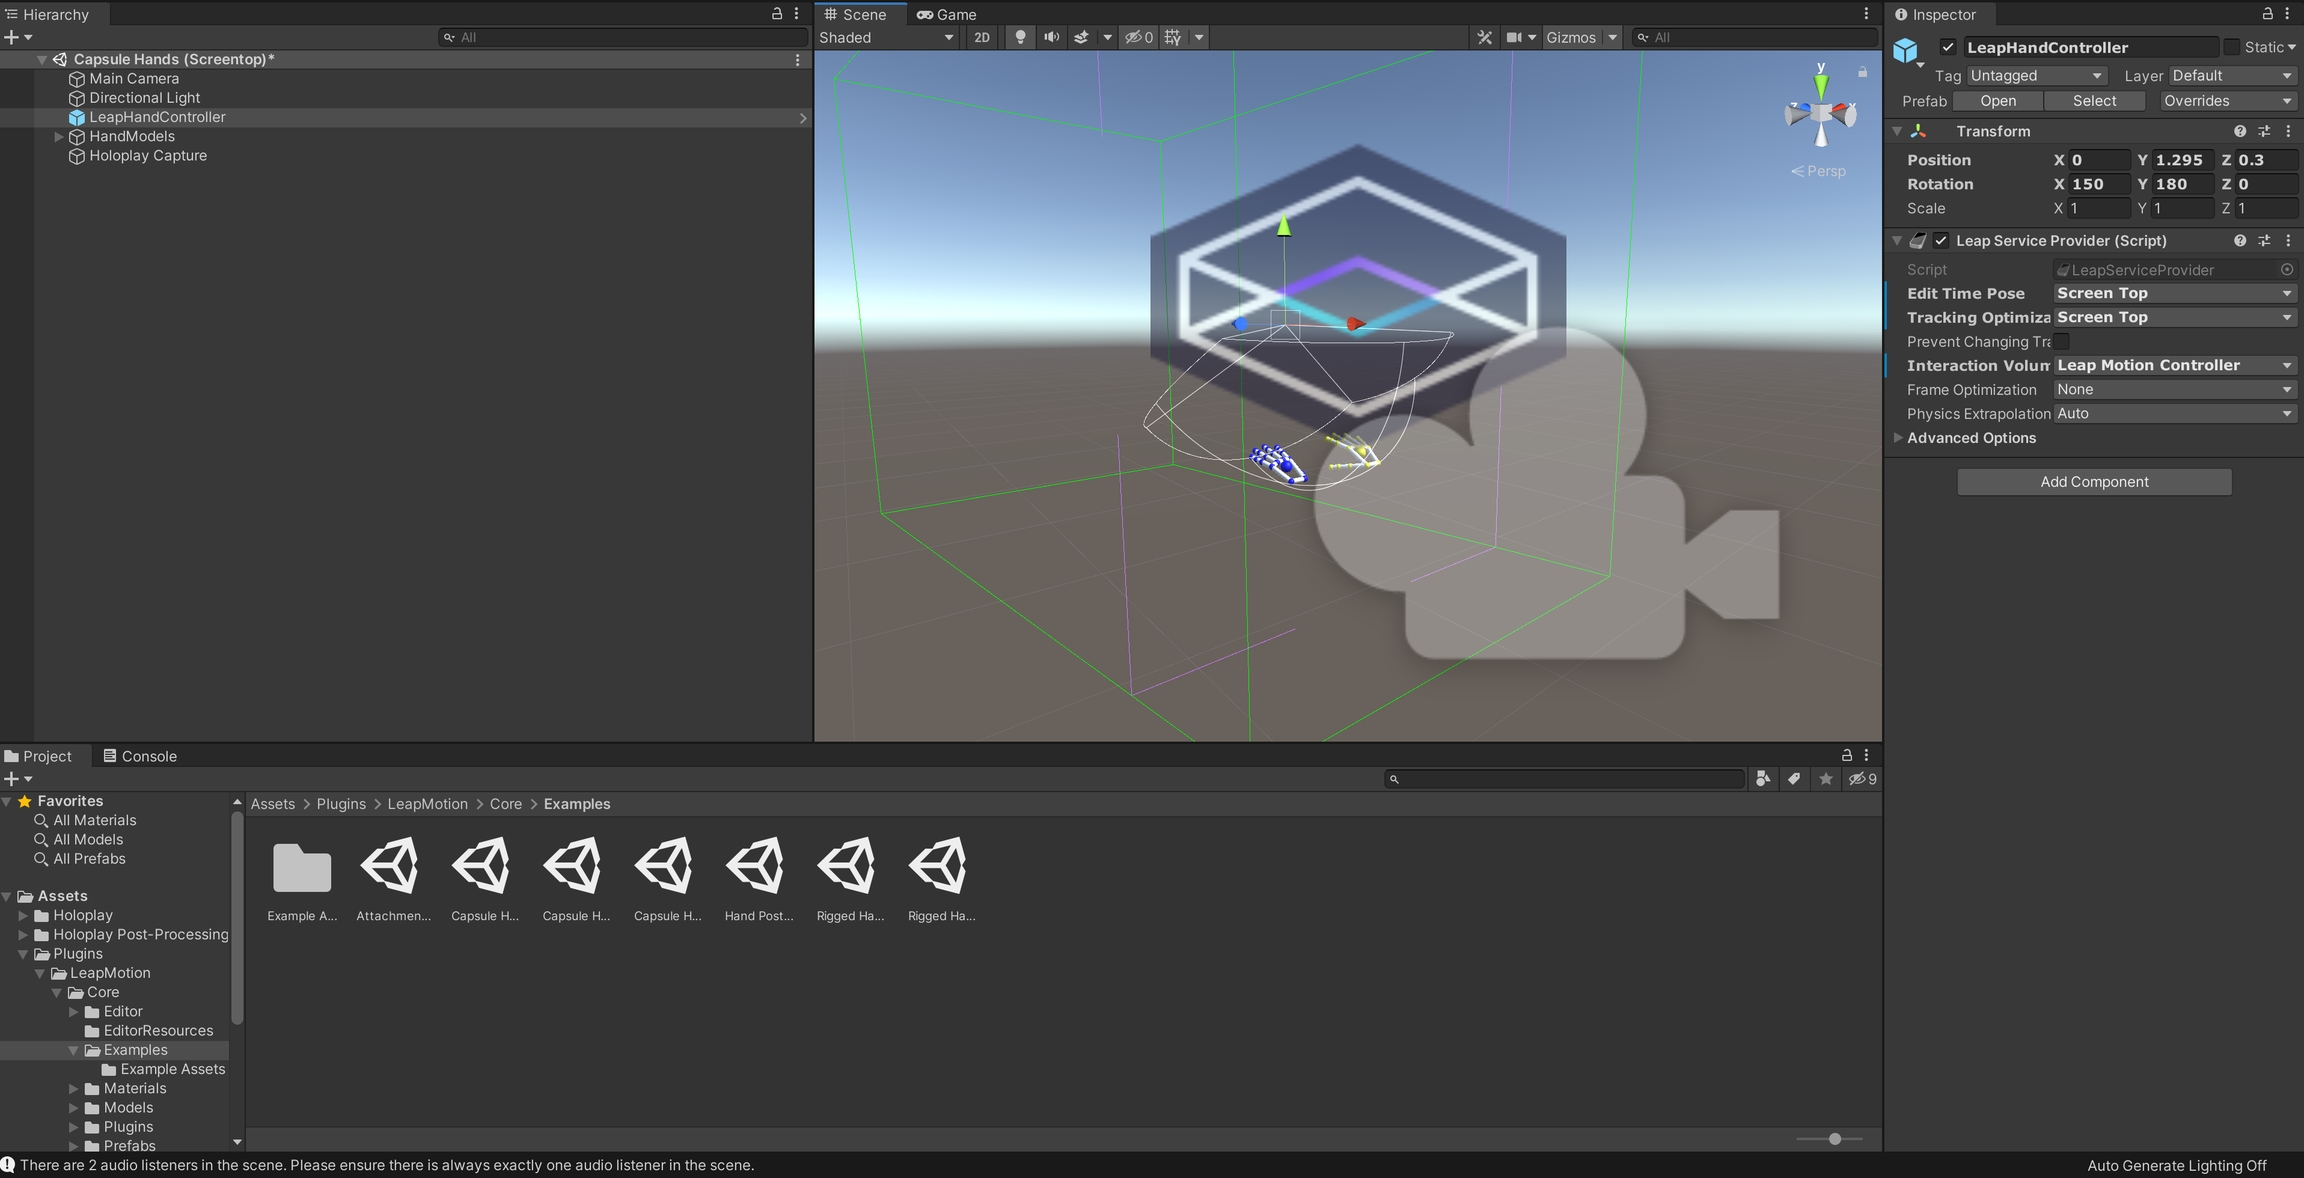
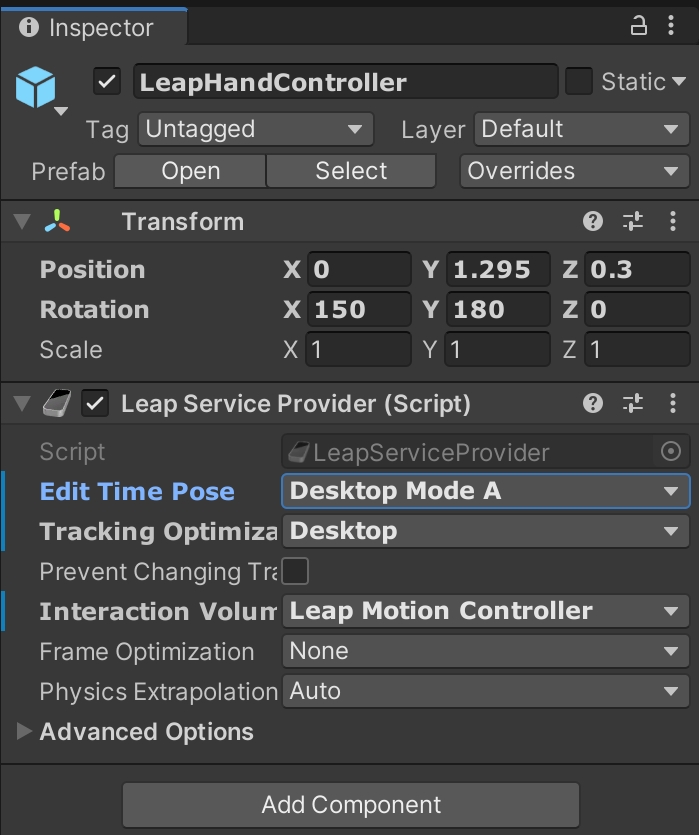
2) The second thing you'll want to change is the tracking settings on the Leap Hand Controller object. By default, this is set to "screen top" but you'll want to change this to "Desktop Mode A" in the object's Inspector panel.
3) You'll also want to modify the rotation of the Leap Motion, since we are using it in up facing mode flat on our desktop, you'll want to make sure the rotation is zeroed out for now.
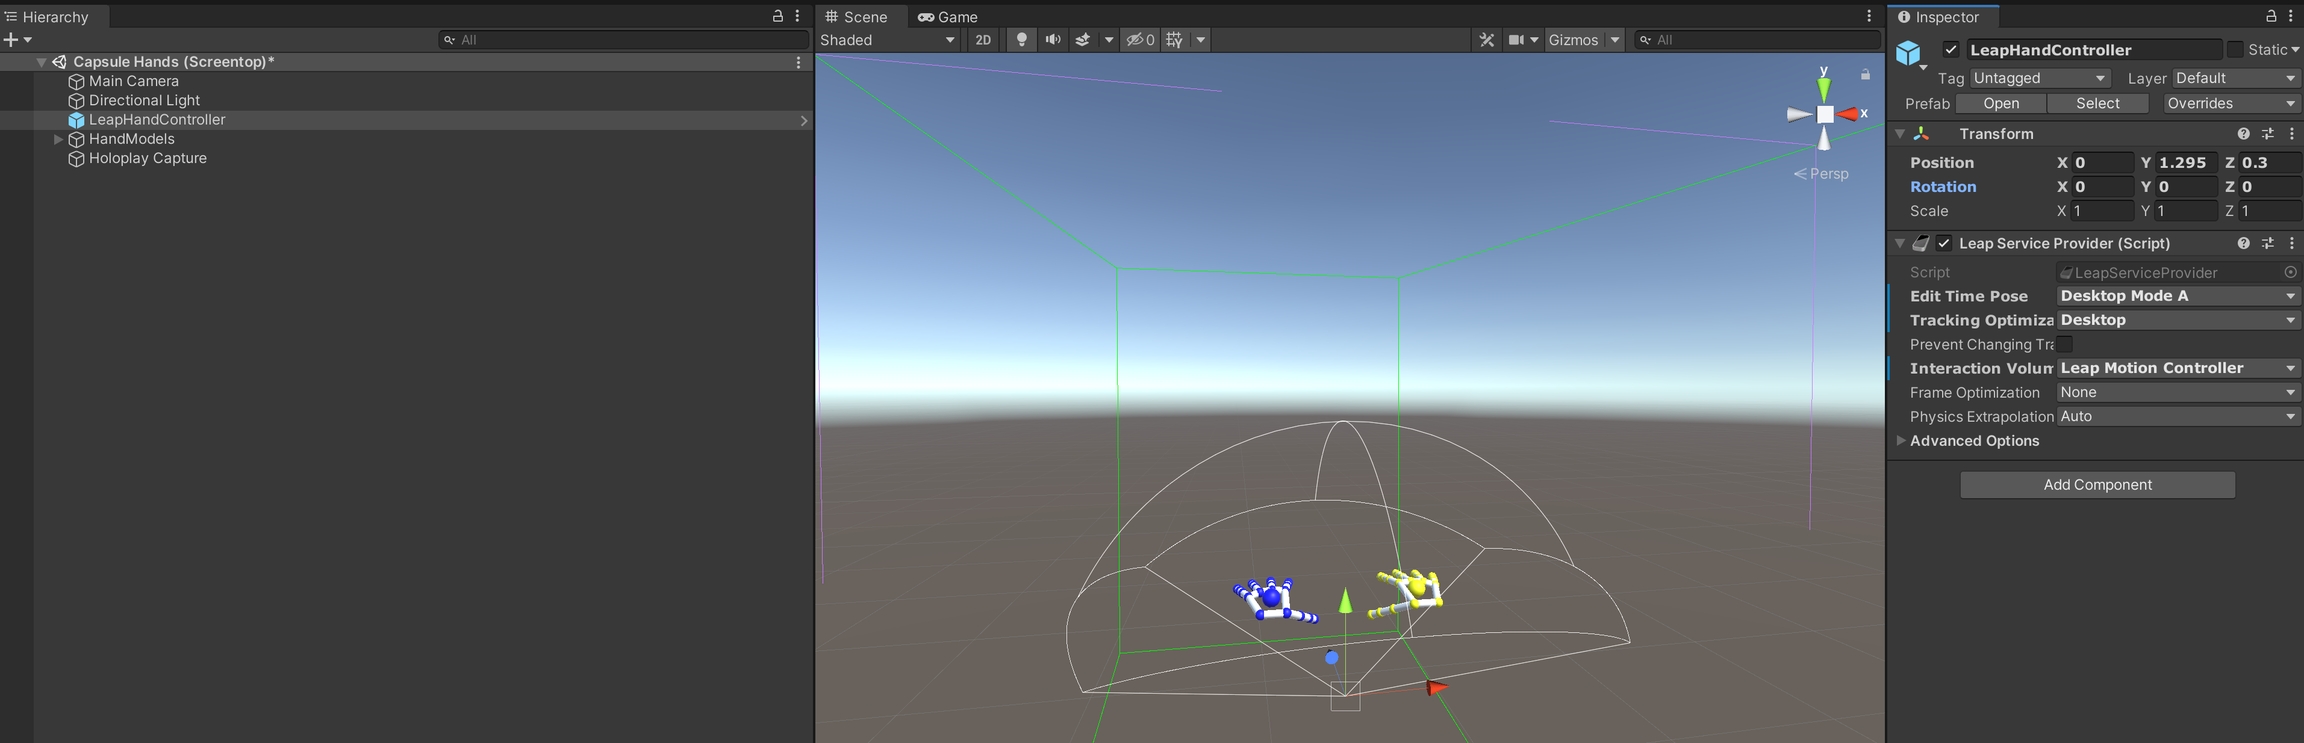
Now that we've done all that we should be set to get started with previewing our hands! Click the "Play" button and hit CTRL + E to toggle the preview window on the Looking Glass.
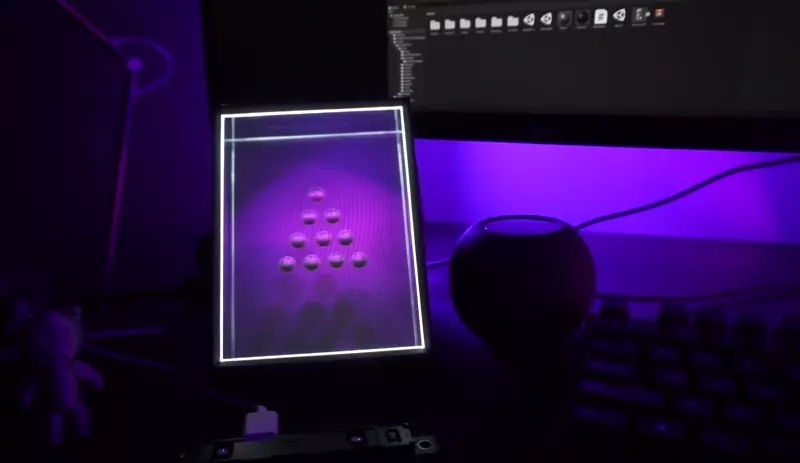
3. Setting up Physics with Springs
In this video we'll walk you through how to setup spring physics and how springs work in Unity, along with some general tips on testing values quickly & working with live preview in Unity.
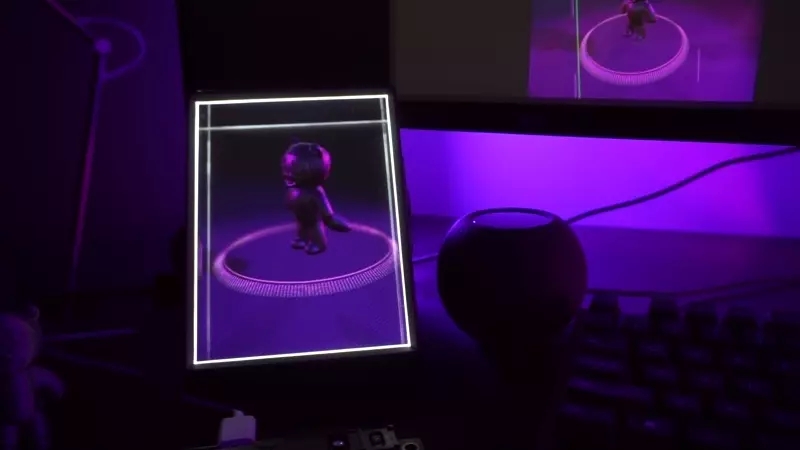
4. The Importance of Lighting & Shadows
How your scene is lit & how shadows are cast are super important to a good experience, check out this short video to learn more how a few properly spaced spot lights can make the world of difference!
Last updated
Was this helpful?